In today’s fast-paced technology landscape, startups must innovate rapidly to stand out. Off-the-shelf electronics may offer a quick solution, but they often come with limitations that restrict scalability, efficiency, and unique differentiation. This is where custom electronics come into play, offering startups a competitive edge through tailored performance, optimized power consumption, and enhanced product functionality.
Why Custom Electronics Matter for Startups
For startups launching new solutions, the ability to develop a product that perfectly aligns with market needs is crucial. Custom electronics empower startups by providing:
- Optimized Design for Specific Applications – Unlike generic hardware, custom-designed electronics ensure that every component serves a specific function, reducing unnecessary bulk and improving efficiency.
- Cost-Effective Scaling – While initial prototyping might seem expensive, a well-planned custom electronic solution can significantly reduce production costs as the startup scales.
- Intellectual Property & Differentiation – Having a unique electronic design means greater control over product IP, ensuring that competitors can’t easily replicate your innovation.
- Improved Reliability & Performance – By tailoring hardware and firmware to the exact requirements of the application, startups can improve durability and enhance overall product performance.
The Role of IoT Prototyping in Product Development
IoT-enabled devices are increasingly shaping industries such as smart manufacturing, healthcare, and logistics. Startups aiming to disrupt these spaces must ensure their product integrates seamlessly with IoT ecosystems. IoT prototyping with custom electronics allows for rapid testing, iteration, and market validation before full-scale production.
Some key benefits of custom IoT prototyping include:
- Faster Time-to-Market – Rapid development cycles ensure startups can test and refine their solutions without long lead times.
- Better Connectivity Options – Whether it’s LoRaWAN, WiFi, Bluetooth, or NB-IoT, startups can select the ideal communication protocol tailored to their specific use case.
- Energy-Efficient Designs – Optimized electronics help reduce power consumption, which is essential for battery-powered and remote IoT devices.
How NORVI Helps Startups Bring Their Vision to Life
At NORVI Controllers, we specialize in supporting startups through every stage of product development electronics. Whether you’re building an industrial IoT device, smart sensor network, or automation solution, our expertise in custom hardware ensures that your product meets industry standards while staying cost-effective.
Why Choose NORVI for Your Custom Electronics Needs?
- Pre-Tested, Scalable Hardware – Our modular designs reduce development time while offering the flexibility to customize for specific applications.
- End-to-End Development Support – From initial concept design to manufacturing, we provide a seamless process to bring your electronics product to market.
- Robust Industrial-Grade Components – Ensuring reliability and long-term performance in demanding environments.
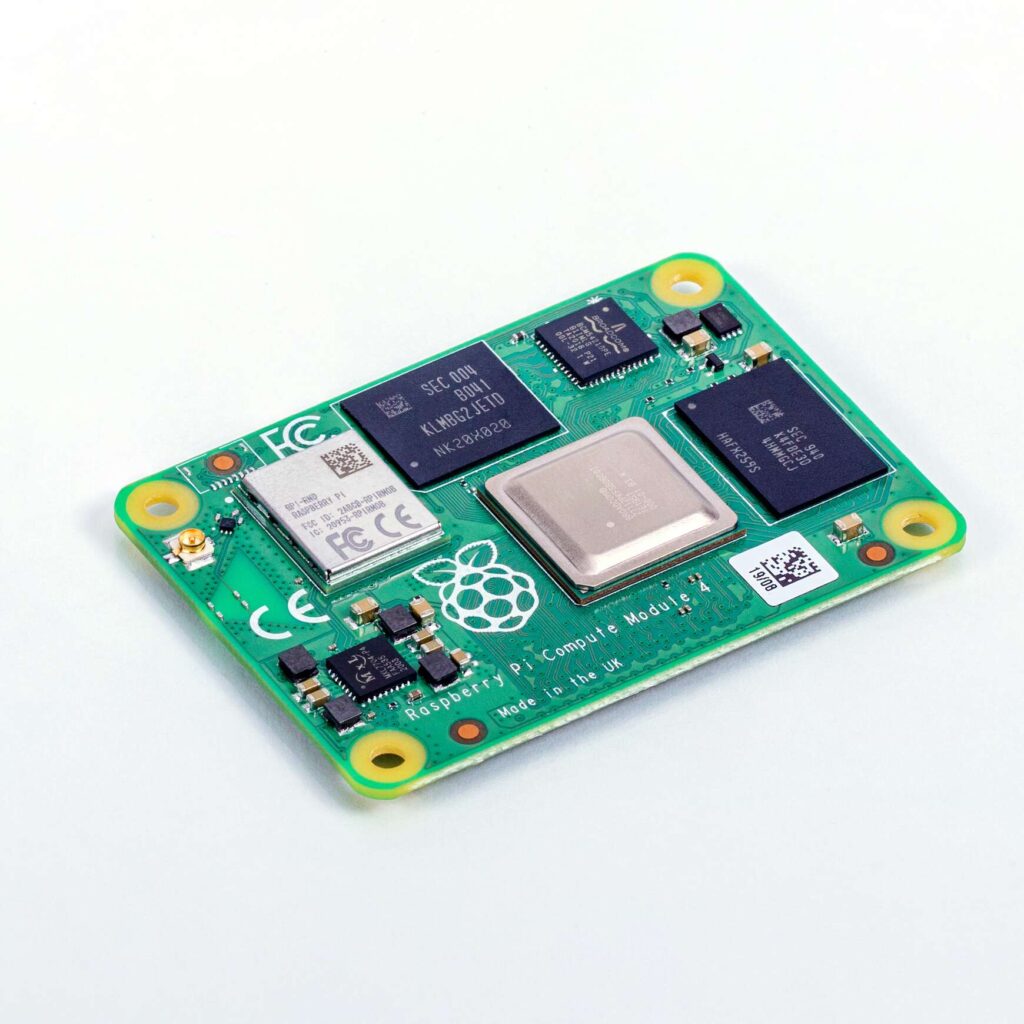
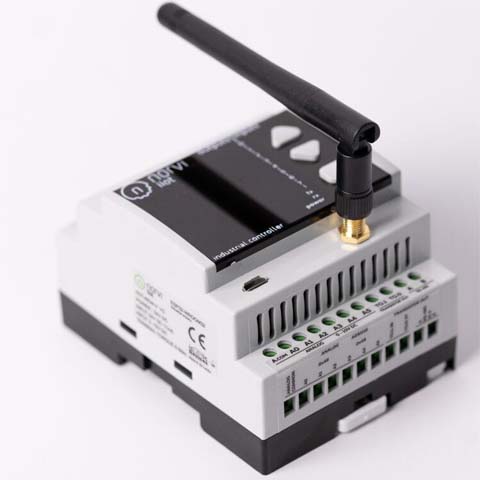
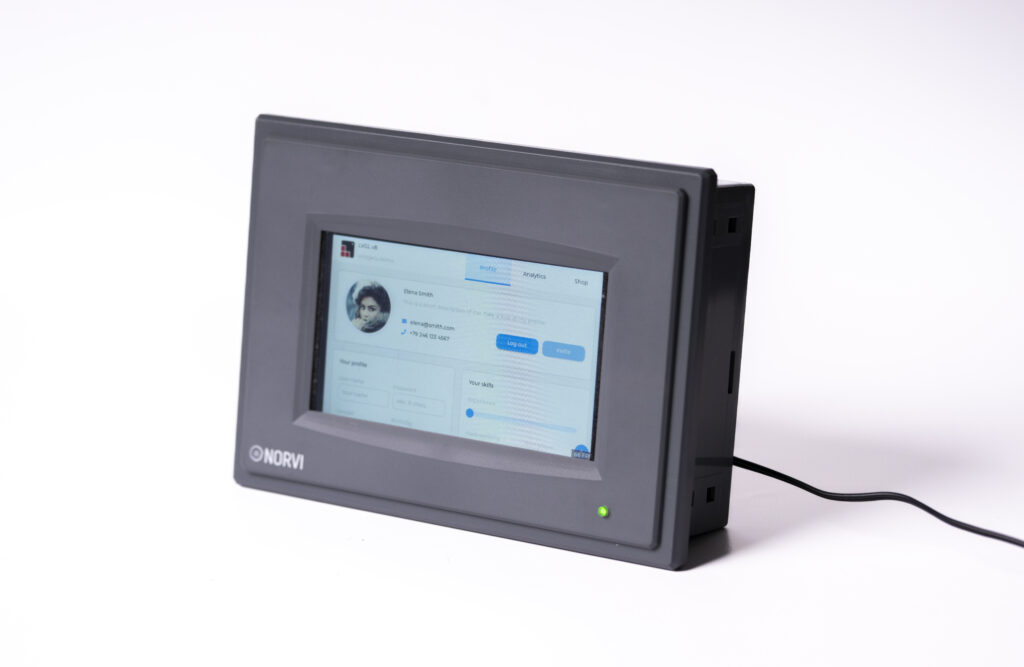
- Faster Prototyping with ESP32-Based Controllers – Ideal for IoT startups looking for rapid development and scalability.
Read more about our IoT Product Development Services and how we help startups succeed.
Conclusion
Custom electronics provide startups with the technological edge required to differentiate, optimize, and scale their products. By investing in tailored hardware solutions, companies launching new solutions can accelerate their go-to-market strategy while ensuring superior performance and innovation. Whether you’re at the prototyping stage or gearing up for mass production, NORVI Controllers offers the expertise and solutions to turn your vision into reality.
Let’s build something groundbreaking together. Get in touch to discuss your custom electronics needs!